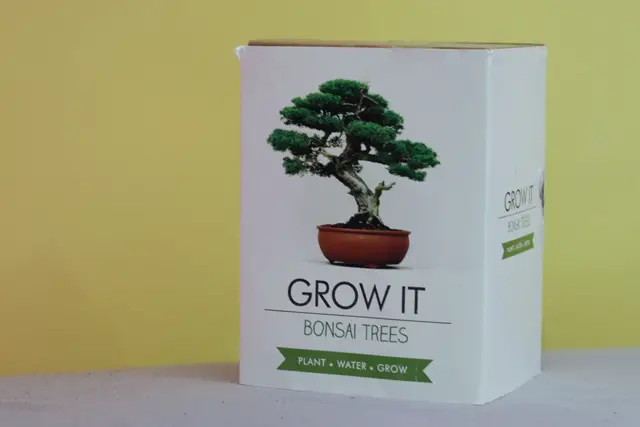
I get asked a lot of questions about the “Grow It – Bonsai Tree” Kit From Gift Republic, which is understandable as I feel the instructions provided are not super clear. The kit is also used by a lot of first time growers so I understand it can be a bit confusing trying to work out what to do.
Hopefully this post will fill in some of the gaps and grey areas that are missing from the instructions. If you still have any questions, don’t be shy. Leave a comment on my Youtube video, or get in touch through social media.

I will go through the official “Sowing and Growing Instructions” and I will add any additions I feel you might need and also explain a bit more of why and what is going on at each step, followed by some extra questions at the end. I wont look at the “Coir Guide” section as i think its pretty self explanatory.
Page Contents
Sowing Instructions

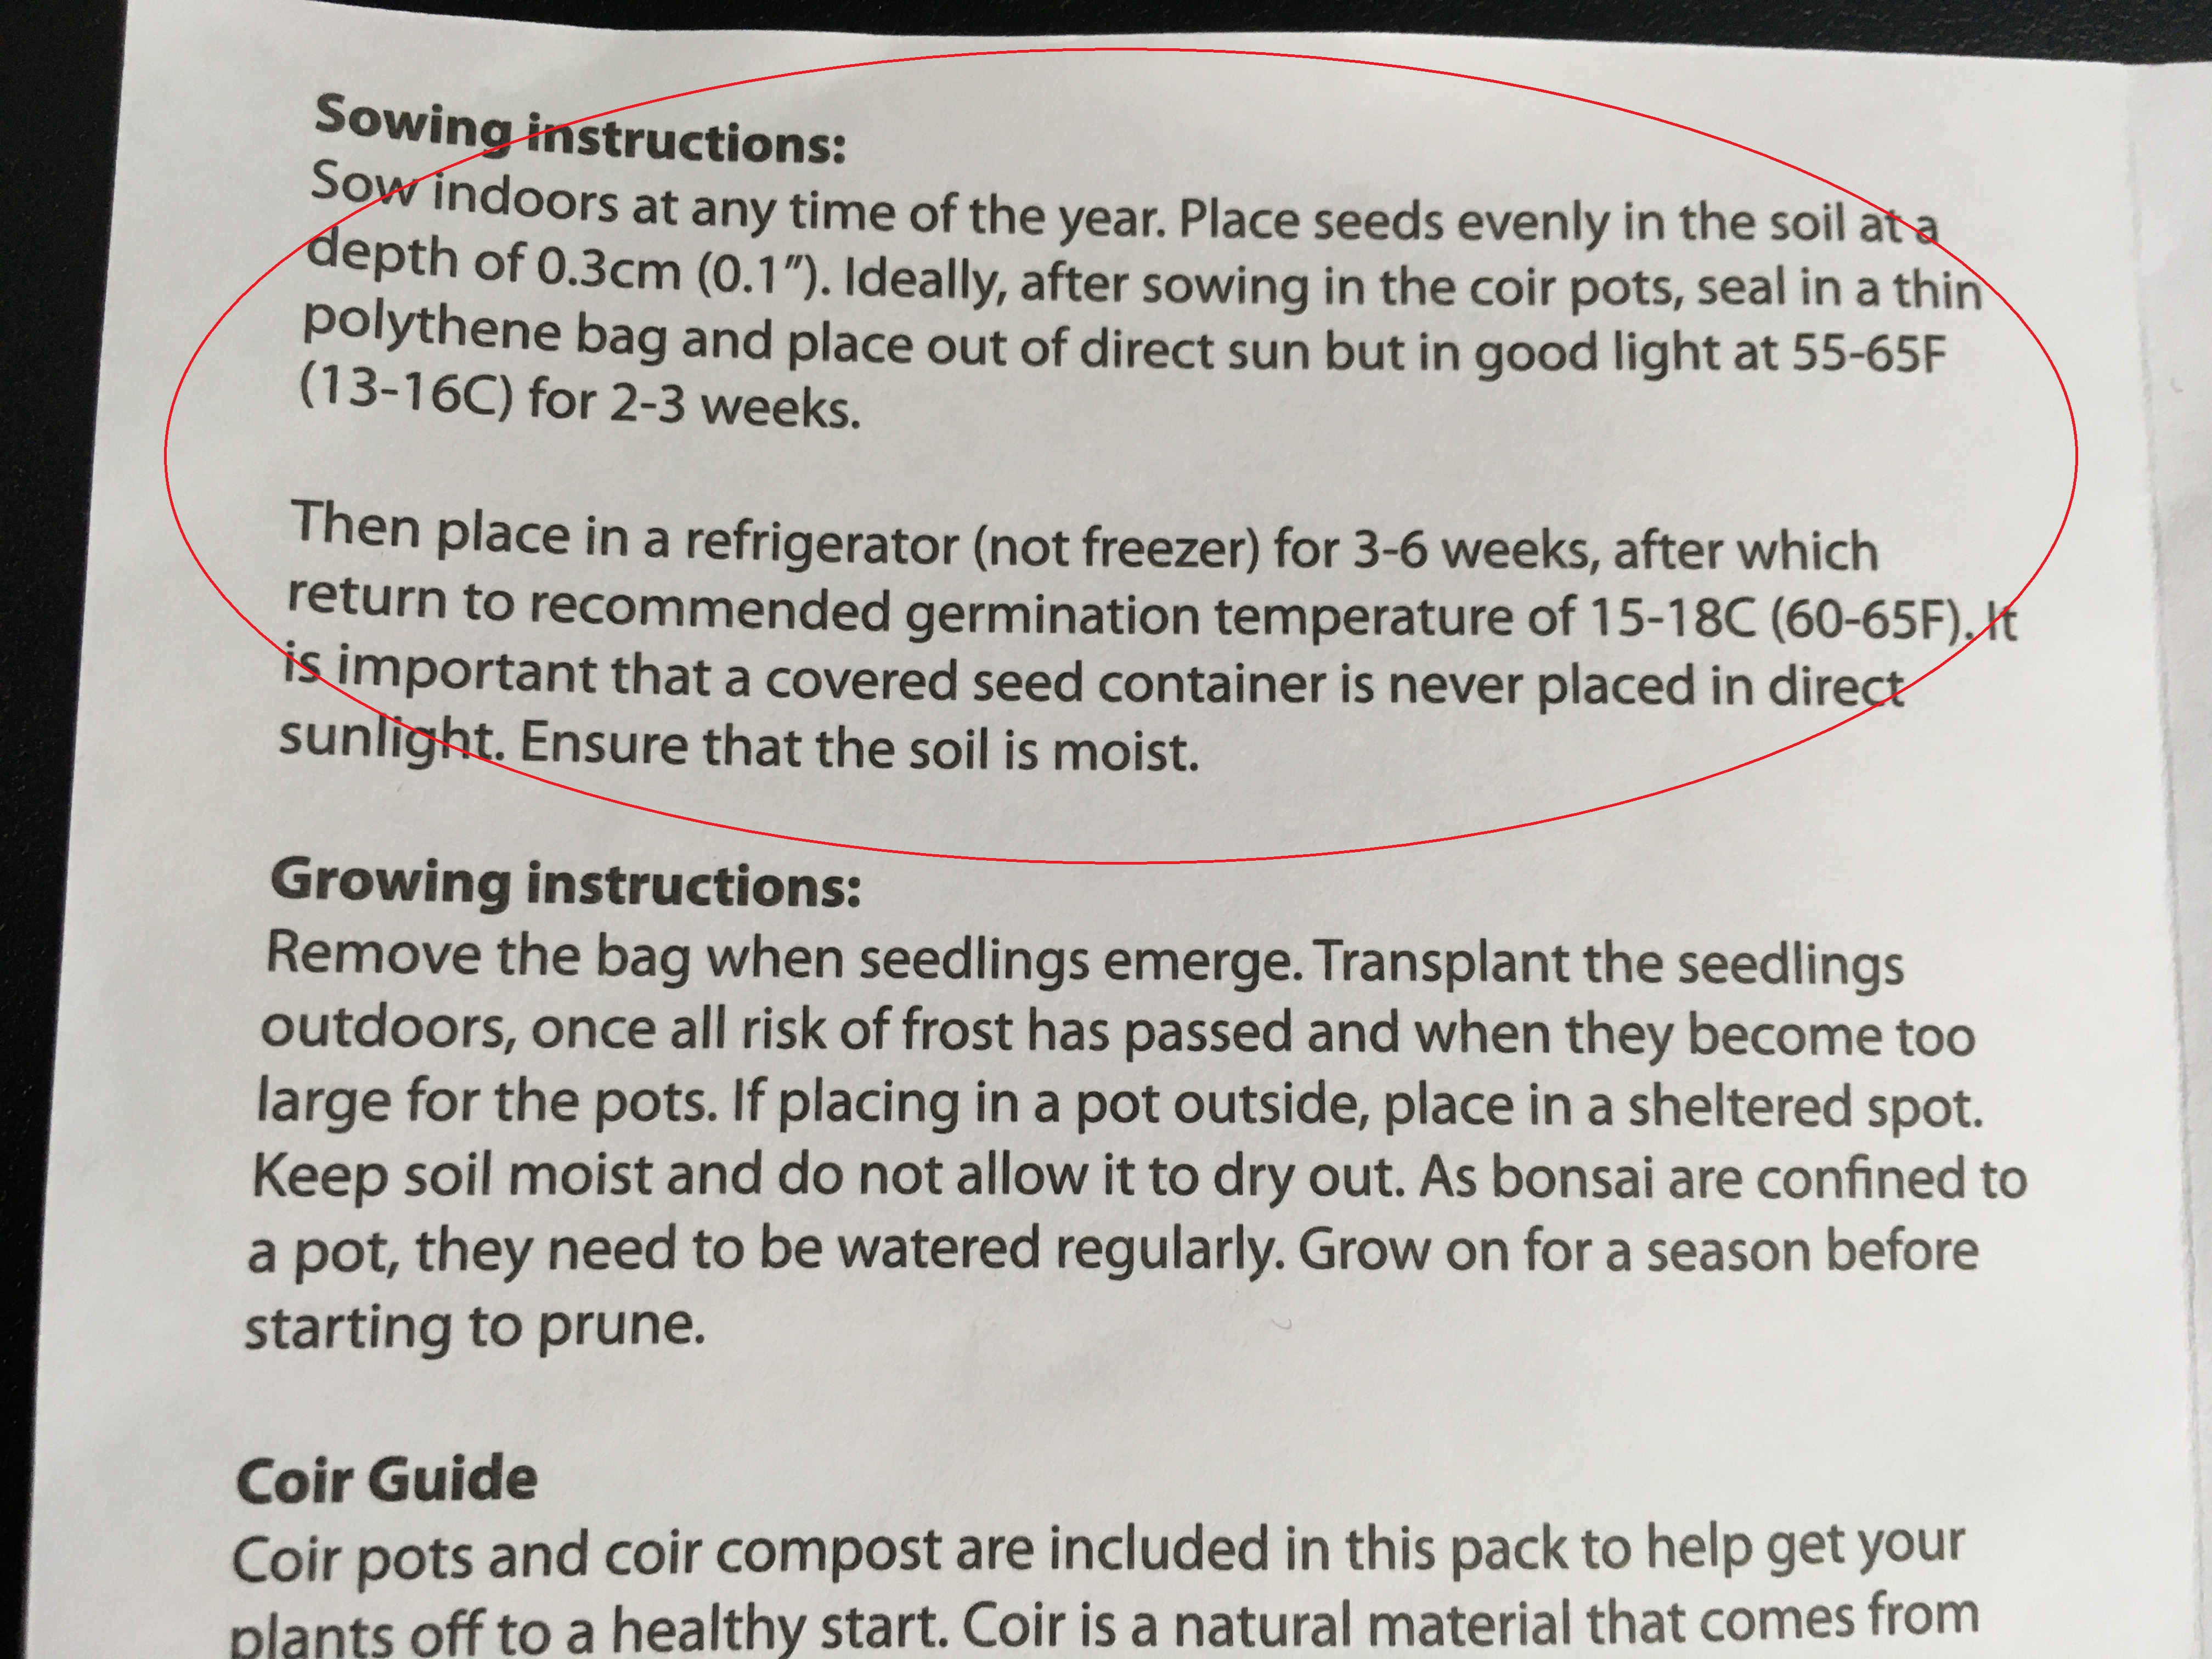
Sow indoors at any time of the year.
– Yes, this is fine. You should sow you seeds soon after getting your kit. Don’t leave the seeds sitting around for months/years. The older they get, the less likely they will grow.
Place seeds in the soil at a depth of 0.3cm (0.1”).
- Yes, this totally fine, just try and spread your seeds out evenly across the pot. It’s sometimes easier to spread your seeds out and then add a layer of soil on top, rather than trying to bury each seed individually.
Ideally, after sowing in the coir pots, seal in a thin polythene bag.
- I’m guessing if you are reading this, you are new to growing plants and don’t have any other pots/soil, so just use the coir pots/soil provided in the kit. You will see in my video I used both the supplied soil and my own. Both worked equally as well.
- As for the thin polythene bag, that means a freezer bag and this shouldn’t be “ideally”…You actually need to seal you pot in a freezer bag. This will form a little greenhouse enviroment. The water can’t escape so it becomes very humid in there, which the seeds like.
Place out of direct sun light but in a good light at 55-65F (13-16C) for 2-3 weeks.
- Yes, out of direct sun. So just anywhere in your house that gets normal day light.
- Don’t get too caught up about the 55-65F (13-16C). Just read this as room temperature. Obviously at different times of the year your house will be a different temperatures. It will be fine, just keep it away from any heat sources like radiators if they are being used in the house. (Check out my question about mould towards the bottom of this article)
- 2-3 weeks… read that as 3 weeks. The point of this step is to allow the seeds to sit in some damp soil and allow the water to soak into the seeds. As the seed soaks up the water the magic of life will happen. Very simply explained, the water activates a certain growth hormones. This sets off a whole complicated chain reaction that starts the growth of the new cells. Without the water getting into the seed there will be no growth.
Then place in a refrigerator (not freezer) for 3-6 weeks.
- Read this as 6 weeks. You will get better results with the longer time.
- This step is basically you tricking the seed into thinking it is winter. Seeds in nature need to go through a winter for a number of reasons.
It firstly stops the seeds growing at the wrong time of the year and getting killed by frost. They are programmed to sprout after winter so they can safely grow through spring and summer and build up enough strength to survive the next winter.
The cold wet environment also helps break down and soften the hard outside shell outside of the seed. Like I talked about before, this makes sure water can get in to start the growth cycle within the seed. This is why its better to leave them in there for longer. After 3 weeks you might get some water breaking into the seed, after 6 weeks it should definitely have happened.
- You can NOT speed this up by using the freezer. Freezers are too cold and will just cause the cells in the seed to burst and then they are dead!
After which return to recommended germination temperature of 15-18C (60-65F)
- Again read this as room temperature. Removing the seeds from the fridge will make them think it is now spring time since the temperature they are experiencing has suddenly risen.
It is important that a covered seed container is never placed in direct sunlight
- This is also correct. The seeds can get too hot and die. Also when they germinate, the direct sun will be too powerful for their tiny delicate leaves and will kill them.
Ensure that the soil stays moist
- 100% right. Damp is maybe a better word. If your soil is too dry, the seeds will not grow. If it’s too wet, they will drown.
You need to get the balance and damp is where you want to be. You shouldn’t have any pooling of water at the bottom of your bag, but having some condensation is fine.
If you are using a sealed freezer bag, you will probably only need to water right at the start. The water shouldn’t escape the bag over your 3 weeks of initial resting and 6 weeks of fridging. However, I would still check, probably weekly. You don’t need to open the bag, you can just look in.
It should still be damp, but if you feel it’s not, then add some water. (Once they start growing, they will need more water as they are actively using the water).
As there is so many environmental reasons that can affect this, i cant tell you exactly if you will need to water. You will just have to check and see.
Growing Instructions

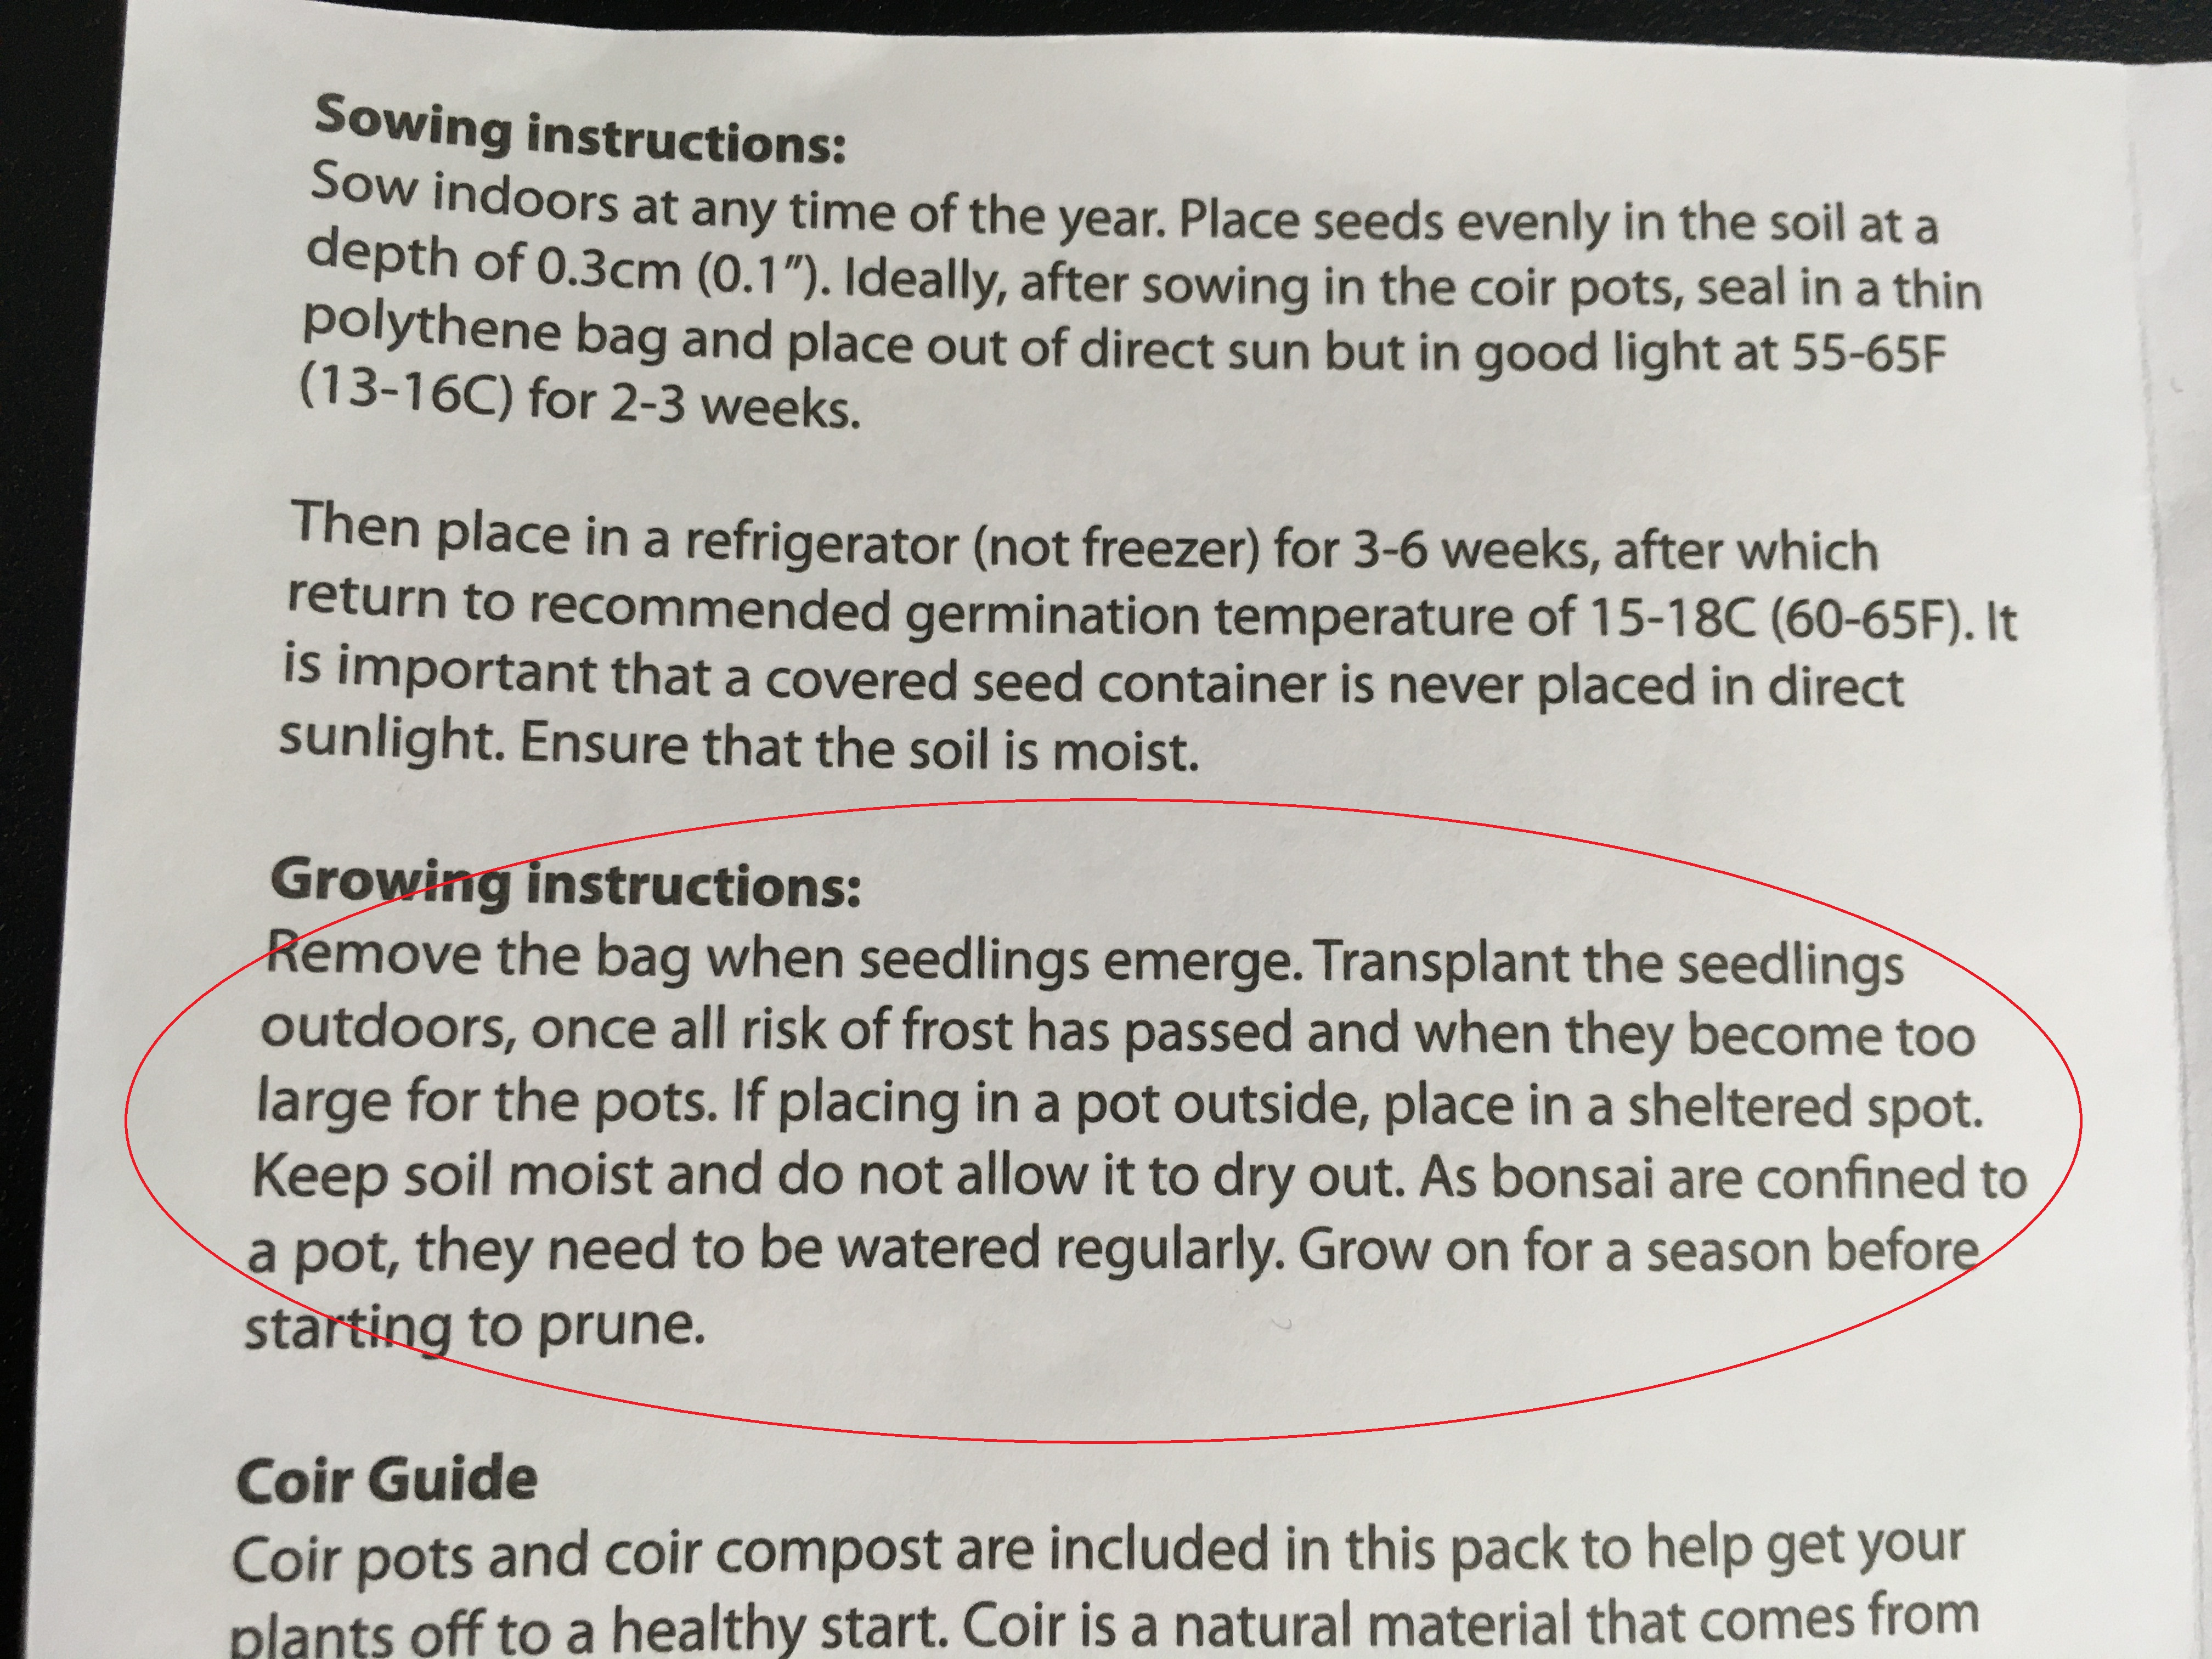
Remove the bag when the seedlings emerge
- Firstly, how long can it take to see seedlings emerge? Once you remove them from the fridge it will take between 2 and 4 weeks to see some signs of life. It can take longer, so don’t give up. After about 2 weeks of removing them from the fridge, I would start looking at them daily to see if you see anything.
- More importantly, I wouldn’t fully remove the bag straight away. What I would do is as soon as you see some sprouts, I would open the bag and peel it down the sides of the pot so you’re pretty much removing it… I would then roll it straight back up and fully close it again. I would then come back at least every 24hr (48hr max) and would just keep doing this for about 14 days. This is allowing some fresh air into the bag, while still keeping the humidity high.
After 14 days I would still keep doing this, but I would now stop closing the bag all the way. I would leave a 1cm opening.
Then every 4 days I would keep extending this opening by 1cm. After a while, the bag is going to be fully open. At this point you can just remove it.
This whole bag opening process is going to take at about 6 weeks.
I believe from the day I removed my seeds from the fridge, until I removed the bag was 3 months. Obviously the first month it was fully closed waiting for the sprouts to show and then I waited 2 weeks with it still sealed, then 6 weeks of slowly opening it.
This seems very intensive and over the top but the whole point of this is to firstly allow fresh air into the bag and more importantly it will slowly introduce the seedlings to the real world humidity levels.
In a sealed bag it is will be 100% humidity, slowly opening the bag over a number of days is going to slowly decrease the amount humidity each time. This will make sure your seedlings are not suddenly shocked by the change. They are very delicate; any sudden change in environment can kill them.
Transplant the seedlings outdoors once all risk of frost has passed and when they become too large for the pots
- This is part is a bit unclear. I’m going to guess you have started these seeds inside, which is totally fine. You need to keep them inside while carrying out the bag removal process. Then I would give them at least another month, probably two months, growing without a bag covering them before I would even consider them strong enough to go outside.
- If you are wanting to bring them outside, you need to do this “once all risk if frost has passed” which means spring time. I would wait more towards late spring, that way the indoor and outdoor temperatures should be fairly similar, especially at night, where it can still drop pretty low in early spring. This will reduce any stress to the seedlings, they shouldn’t notice any change to their environment by doing it this way.
- You can bring your seeds outside throughout spring and summer and into early autumn. If you have started them quite late in the year (so they have only germinated in late summer or autumn) I would probably not bring them outside in autumn. They might not be strong enough to handle the coming winter. I would keep them inside until next spring. I have done this with other seeds. They germinated in October and November, so I just waited until spring to take them outside.
- The “transplant” and “when they become too large for the pots” part of this is referring to changing their pots. They are going to get pretty crowded in those little pots quite quickly.
If you want to repot them would wait until they are about 4-6 months old. They will still be very delicate, but should be okay. (I did mine slightly earlier in my video at about 3 months and you can see how risky that was, but they mostly survived)
If they are not crowded in the pot, you could wait longer. I would also make sure that it is not winter when you do this. So the information above about taking them outside is pretty much the exact same advice for when you can repot them. If in any doubt, just wait until the following spring. If you are going to put them in the ground, I would keep them in their pots until the following spring.
If placing in a pot outside, place in a sheltered spot
- This is fine, I’d put them somewhere sheltered for about a month, by which point they should be acclimatised to outside and growing healthy again. Then you can move them to where you want. Just be cautious of extreme direct sun especially in the summer, it can be a bit powerful for young seedlings; they might need a bit of shelter throughout the day.
keep soil moist and do not allow it to dry out.
- 100% right. At no point during any of this should they go dry. Your new full time job is now keeping these moist at all times.
- You don’t need to water every day, but you should check every day, you can then assess if it needs water or not.
After a while you will get a feel for how often it needs water. you need to remember that as the trees grow, it will use more water and it will use it faster. They are living things, so there can be many variables affecting when they need water and how much.
- You may find reading my full guide on How To Water helpful.
As bonsai are confined to a pot, they need to be watered regularly. Grow for a season before starting to Prune.
- I agree with this. As above, watering is important and needs to be continually accessed.
- I would also let it grow out for a full season. You can read my guide on – How To Grow A Bonsai Form Seed. You should get a bit more information on what to do next, which for now is waiting.

If you are finding this article useful you should also check out my YouTube Channel, I post new video’s every Sunday.
I like to show each of my Bonsai trees journey throughout the year in a sort of time lapse, along with some tips and techniques throughout the video.
Other Common Questions About The “Grow It – Bonsai Kit”
These are just general questions I have been asked, or think you may ask:
My seeds have already sprouted before putting them in the fridge, what do I do?
If after your 3 week initial rest, the seeds have sprouted, you can skip the fridge stage.
The fridge is designed to trick the seeds into thinking its winter and then getting them to germinate when they come out, as they think the sudden rise in temperature is spring.
If you are already seeing shoots, you don’t need to trick the seeds, they are already growing. They have for some reason thought it was already spring, so now need light to grow more. Placing them into the dark fridge now will kill them.
Skip the fridge and just continue with the steps after this as normal.
There is mould on my seeds/soil what do I do?
This is quite common. The coir soil that is provided holds a lot of water. I would argue it holds too much and the pots can be a little too damp sometimes.
This is not helped by having the bag sealed which will make the inside have 100% humidity. Unfortunately mould loves 100% humidity and grows really easily in this environment. However, seeds also love high humidity, so you kind of need to do this.
Part of the reason I want you to fully open the sealed bag each day before closing it up is to get fresh air inside, which can help reduce the chance of mould growing. It’s not a perfect method, but a bit of airflow can slow mould development down.
If you do see mould developing, try and gently scrape it off with a knife. Hopefully you are only seeing mould around the time when you should be removing the bag anyway, in which case, you shouldn’t worry too much. If you are seeing it before you put it in the fridge, this isn’t good. The mould can damage the seeds, so you will just have to try and remove as much as you can and continue on.
This is also why the instructions want you to keep your pot at 15-18C (60-65F) this temperature is slightly lower than room temperature, so it should slow down any moulding. I have said room temperature is fine, but if you house is for some reason rather warm, try and find a cooler area.
Heat and humidity is what seeds need to grow, but it will also really ideal conditions for mould growth. So like I said above, try and keep your pots away from radiators and other heat sources. Seeds can grow fine at temperatures of room temperature and below, where as mould likes it really nice and warm.
For a more detail article on mould – What To Do About Mould On Seedlings
My seeds are not growing, what do I do?
Sometimes when you try and grow the seeds from these kits, nothing happens, which is never ideal.
If you are having that problem then you can read – What To Do When Your Bonsai Seeds Are Not Growing – and hopefully get your seeds to grow.
When should I fertilse my trees?
I wouldn’t worry about this until your tree is a year old. The tree will have enough energy and get enough nutrients from the soil to grow healthy for a while.
Adding fertiliser to a young seedling can actually be dangerous. Their root system can be very delicate and the fertiliser can be a bit too strong for it, causing damage to the roots, resulting in death.
(You can read more about – How Do You Know If Your Bonsai Seedlings Are Healthy?)
What Species are the seeds in the The “Grow It – Bonsai Kit”?
I cover this in video and in my review of this grow kit (which you can read here) but the species are:
- Japanese Black Pine (Pinus thunbergii)
- Silver Birch (Betula pendula)
- Downy Birch (Betula pubescens)
- Alder (Alnus glutinosa)
What Do I Do Next?
Its a long process and basically you have to wait a long time until they are strong enough and big enough to work.
This article will give you a rough guide on – Starting A Bonsai From Seed And What To Do For The First Few Years.
What I Did Differently With My “Grow It – Bonsai Kit”

If you’ve seen my videos on this kit you will see that I grew one packet of seeds as per the instructions. This method worked and was totally fine. If you want to follow the instructions, you should also have success.
However, I have grown a lot of seeds so I did a few things differently so will just explain that here.
Soaking The Seeds
I filled a jar with warm water (warm from the tap) and added my seeds and left them to sit there for 48Hrs.
I then took them out and placed them on a damp kitchen towel. I then placed this in a sealed freezer bag and put them in the fridge
This whole process is instead of planting the seeds and letting them rest for 3 weeks. It’s basically a short cut version but the desired process is the same.
In the instructions the seeds sit for 3 weeks slowly soaking at room temperature in the soil where the outer shell of the seed gets slowly softened.
In my version they get a faster more aggressive soak and the warm water also helps break down the outer shell of the seed. 48hrs is about the maximum time you should do this (24hrs is very common) this should allow the outer shell to soften enough without then drowning the seed.
Fridge
The fridge section cannot be skipped. As explained above, this is important as it tricks the seed into growing. This step is the exact same. I also left the seeds in the fridge for 6 weeks.
Planting the Seeds In Different Soil
After I removed the seeds from the fridge everything was pretty much the same. I just had to now plant my seeds into soil and pots and I again made sure they were in a sealed bag.
You will notice that I used my own bonsai soil. (Equal parts compost, perlite and molar clay)
I just prefer this to the coir soil that is provided. I find the coir can hold too much water, but you will also see I was able to grow my trees just as well in this coir compared to my bonsai soil.
After this, everything is the exact same and as you can see from the video the results were pretty much the exact same as well.
“Grow It – Bonsai Kit” Youtube Video
You have probably ended up on this webiste page from my youtube video …but if you haven’t seen it, you can watch the video where I started this bonsai kit.
Conclusion
Growing seeds can be as equally straight forward as it is tricky. For first time growers it can be quite overwhelming and intense.
Please just remember that seeds are like any other type of babies. They are very delicate and need a bit of extra care, but once they get a bit older they will become stronger and need less of the constant attention.
Once you get these trees growing for a few months they will be fine and you can start studying what to do next. This site and my youtube channel has plenty of information to help you with the next steps of growing and caring for bonsai.
Hopefully you will get as much pleasure and success from your grow kit as I have had. It’s going to take a while until you get a bonsai from this kit, but trust me; the reward is worth the wait.
At the moment I only have uploaded my Japanese Black Pine Bonsai Progression (2020 – Now) that I grew from this kit, but I have the other trees featured on my youtube channel, where you can see there progress too.
(You can read more about – What Are Some Common Mistakes Made When Growing Seeds For Bonsai?)

Hi, I’m Ian. I have been doing bonsai since 2014. I created this site to spread all the knowledge I have acquired over the years. Don’t forget to check out my Youtube videos where I show the progress of my own Bonsai each week or connect with me on social media.
You can read more about me and how I got into Bonsai on the About Page


